The electro-deposition dipping technique makes this a unique approach
By Michael DiTolla, DDS
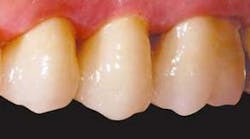
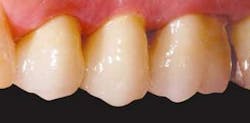
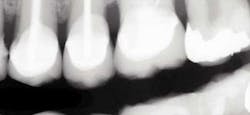
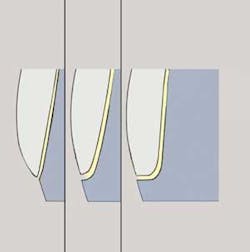
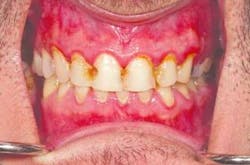
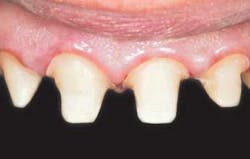
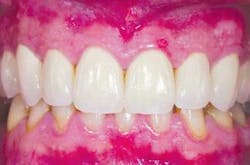
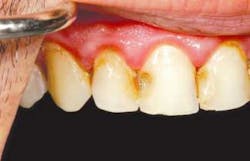
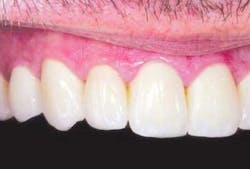
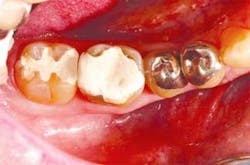
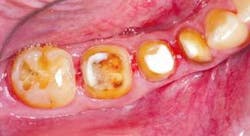
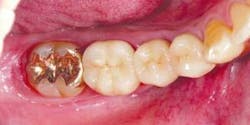
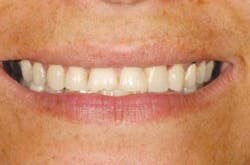
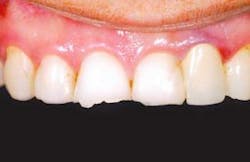
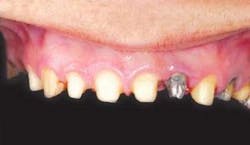
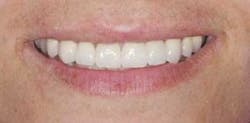
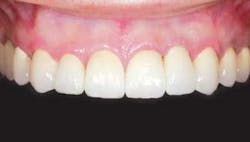
The Wol-Ceram® system represents a true breakthrough in the field of esthetic all-ceramic restorations. Wol-Ceram (figs. 1 & 2) is the first all-ceramic system that allows you to prepare teeth with a feather-edge margin — shoulders and chamfers are not required. Many dentists have complained about the extra preparation required for most all-ceramic restorations, feeling that a standard PFM preparation should be an adequate reduction. Because Wol-Ceram utilizes an electro-deposition dipping technique, it can handle any margin you prepare, even if there is a shoulder, chamfer, and feather-edge margin all on the same tooth (fig. 3).
null
null
null
Wol-Ceram restorations are built on high-density In-Ceram alumina material from the Vita corporation. In-Ceram crowns have been proven in clinical tests for more than 12 years and literally millions of crowns have been prescribed worldwide. On more than one occasion, I have heard CRA founder Dr. Gordon Christensen comment that, "In-Ceram is the best-kept secret in dentistry." Dentists tend to be somewhat reluctant to try a new material that doesn't have a lot of clinical studies to support it, but In-Ceram is one of the most researched restorative systems available today. For example, in the June 2001 Journal of Prosthetic Dentistry, the results of a six-year clinical trial were published. In all, 546 all-ceramic In-Ceram crowns (177 anterior and 369 posterior) were cemented with RelyX Luting Cement. The success rate for the anterior crowns was 98.9 percent and the success rate for posterior crowns was 99.2 percent. There are several other clinical studies with results similar to this one, all of which should help dentists make a confident decision when prescribing Wol-Ceram.
null
null
null
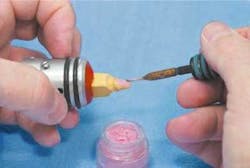
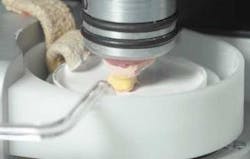
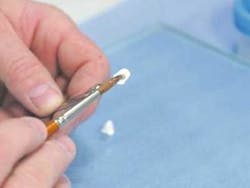
Wol-Ceram from Wol-Dent GmbH in Germany also establishes a new benchmark for precision of fit for alumina or zirconia-based all-ceramics. The outstanding fit and strength are the result of an electronically deposited alumina oxide ceramic coping or bridge framework. Master dies are brushed with an electrically conductive wax (fig. 4), and are then placed into the Wol-Ceram machine. The machine then dips the dies into liquefied alumina oxide (fig. 5), which uniformly coats the master die. This precise electro-deposition results in marginal integrity that matches our best PFMs.
null
null
null
Watching the machine dip the die into the alumina oxide material is reminiscent of a master die being dipped into wax to make a traditional cast gold restoration. As dentists, we have all fabricated cast restorations in dental school and are confident of the fit that can be achieved by dipping dies into molten wax. It is reassuring to finally be able to utilize this same technique for a cementable all-ceramic restoration such as Wol-Ceram.
null
null
null
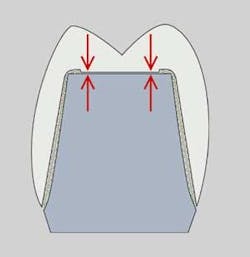
It is important to understand why the fit of the Wol-Ceram system allows you to prepare feather margins — a margin that is contraindicated for other all-ceramics. When the die is prepared prior to dipping, die spacer is placed onto the axial surfaces to within 1 mm of the margin, however there is no die spacer placed on the occlusal surface of posterior teeth or the lingual surfaces of anterior teeth. As a result, the Wol-Ceram restoration has optimal pressure distribution due to this "stop" on the occlusal or lingual surface (fig. 6). This results in stress-free restorations, even at feather-edge margins.
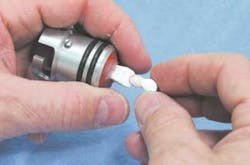
The Wol-Ceram fabrication cycle is a two-step procedure. After the master die is dipped in the liquid alumina oxide and trimmed (fig. 7), the same size coping is fired in the oven. After firing, the coping is then painted with an infiltration glass (fig. 8) that comes in four Vita shades. The coping is then placed back in the oven so the infiltration process can take place. One distinct advantage of having a separate infiltration process is that it allows the technician to match the shade of the coping to the final shade of the restoration.
Many other all-ceramic systems utilize a coping that is pure white, which can cause it to show through the finished restoration. This tends to happen in the cervical one-third of preparations, as well as when the dentist has not prepared the margins deep enough. It also happens on the facial surface in the incisal third when a dentist fails to taper the preparation enough to the lingual. As a result, there is a bright spot or "headlight" that shows through the ceramic material in the area of the under-reduction. These bright white copings were preferable to dark metal copings, but still presented an esthetic challenge, albeit at the other end of the value spectrum.
null
null
null
Since the Wol-Ceram coping is shaded to match the final shade of the restoration, it is more forgiving in cases where the doctor has provided minimally acceptable reduction. While Wol-Ceram allows you to prepare more conservative margins than other all-ceramics, it still requires a 1.5 mm reduction, similar to that of a PFM crown (figs. 9-21).
The strength of the Wol-Ceram coping allows it to be cemented with conventional cements used for PFM restorations. Some examples of these are 3M ESPE's RelyX Luting Cement and Fuji Plus resin reinforced glass ionomer cement. If you prefer to bond restorations, resin cements such as PanaviaF or 3M ESPE's RelyX Unicem can be used.
null
null
null
In addition to the benefits of the Wol-Ceram coping, Vita VM7 is a new veneering ceramic that has outstanding esthetic and physical properties. Perhaps its most impressive physical property is its low wear of opposing enamel. Like other low-wear porcelains, VM7 actually wears opposing natural teeth slightly less than even enamel does.
null
null
null
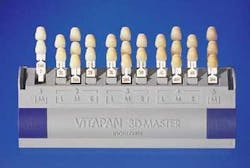
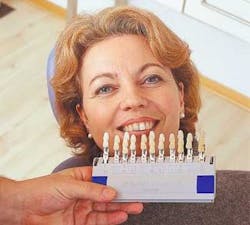
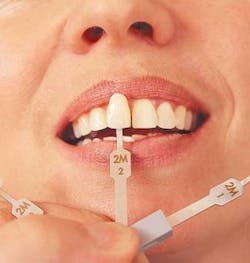
One of the reasons why the VM7 material looks as good as it does is because it is based on the Vita 3D Master shade system (fig. 22). If you haven't had much experience with the 3D system, you should take another look at this innovative shade guide. The 3D system breaks shade-taking down into the three separate elements of color — value, hue, and chroma. It has often been said that if you could get the proper value for your shades, you could be off on the hue and chroma and the patient would still be pleased with the restoration. With a Vita Classic shade guide, you are always viewing value, hue, and chroma simultaneously, making it difficult to assure that you have picked the correct value. The 3D Master shade system allows you to choose value separately (fig. 23, previous page) and, once that decision has been made, to focus on the chroma and hue (fig. 24, previous page).
null
null
null
The first time most dentists try the 3D shade guide, they report that it is more work than the Vita Classic guide, but I urge you to try it for your next five to 10 shades. That is the amount of time that it took me to get comfortable with the Vita 3D system and not feel that it was more work than the Vita Classic guide.
When I seated my first Wol-Ceram case, I was pleasantly surprised with the precise fit and outstanding esthetics. The next time you need an esthetic, cementable restoration, you owe it to yourself and your patient to prescribe Wol-Ceram.
